KT200II Post-Programming Verification Guide
How to Verify an ECU or TCU After Programming
A completed progress bar is only the first confirmation. Professional post-programming verification checks the controller identification, communication, diagnostic status, required adaptations and actual vehicle operation before the job is released.
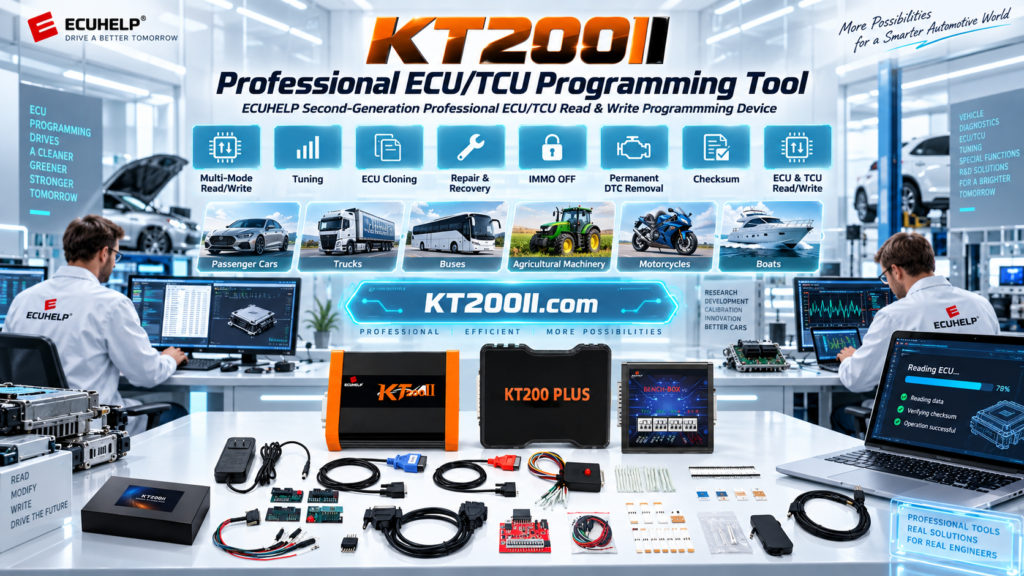
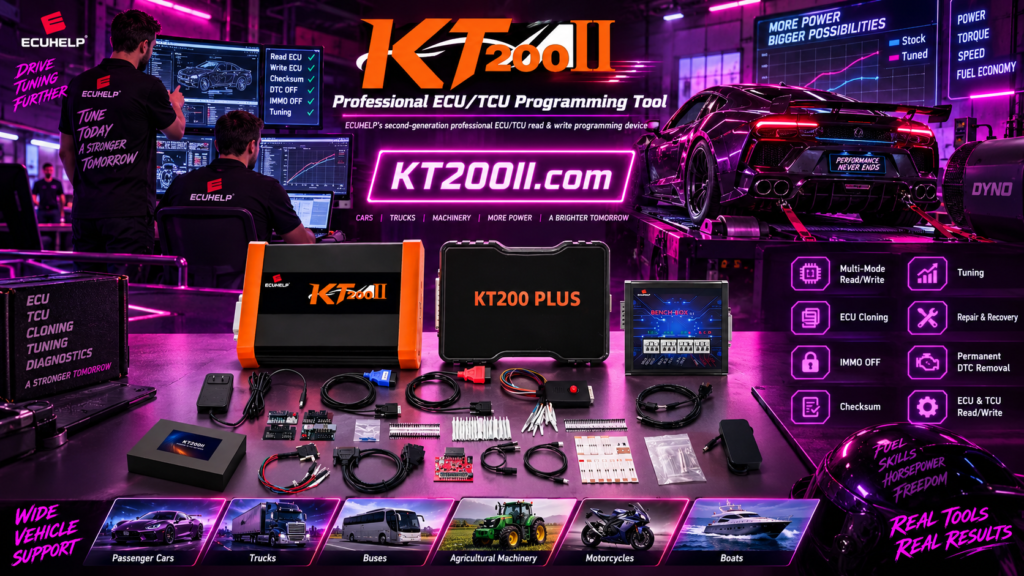
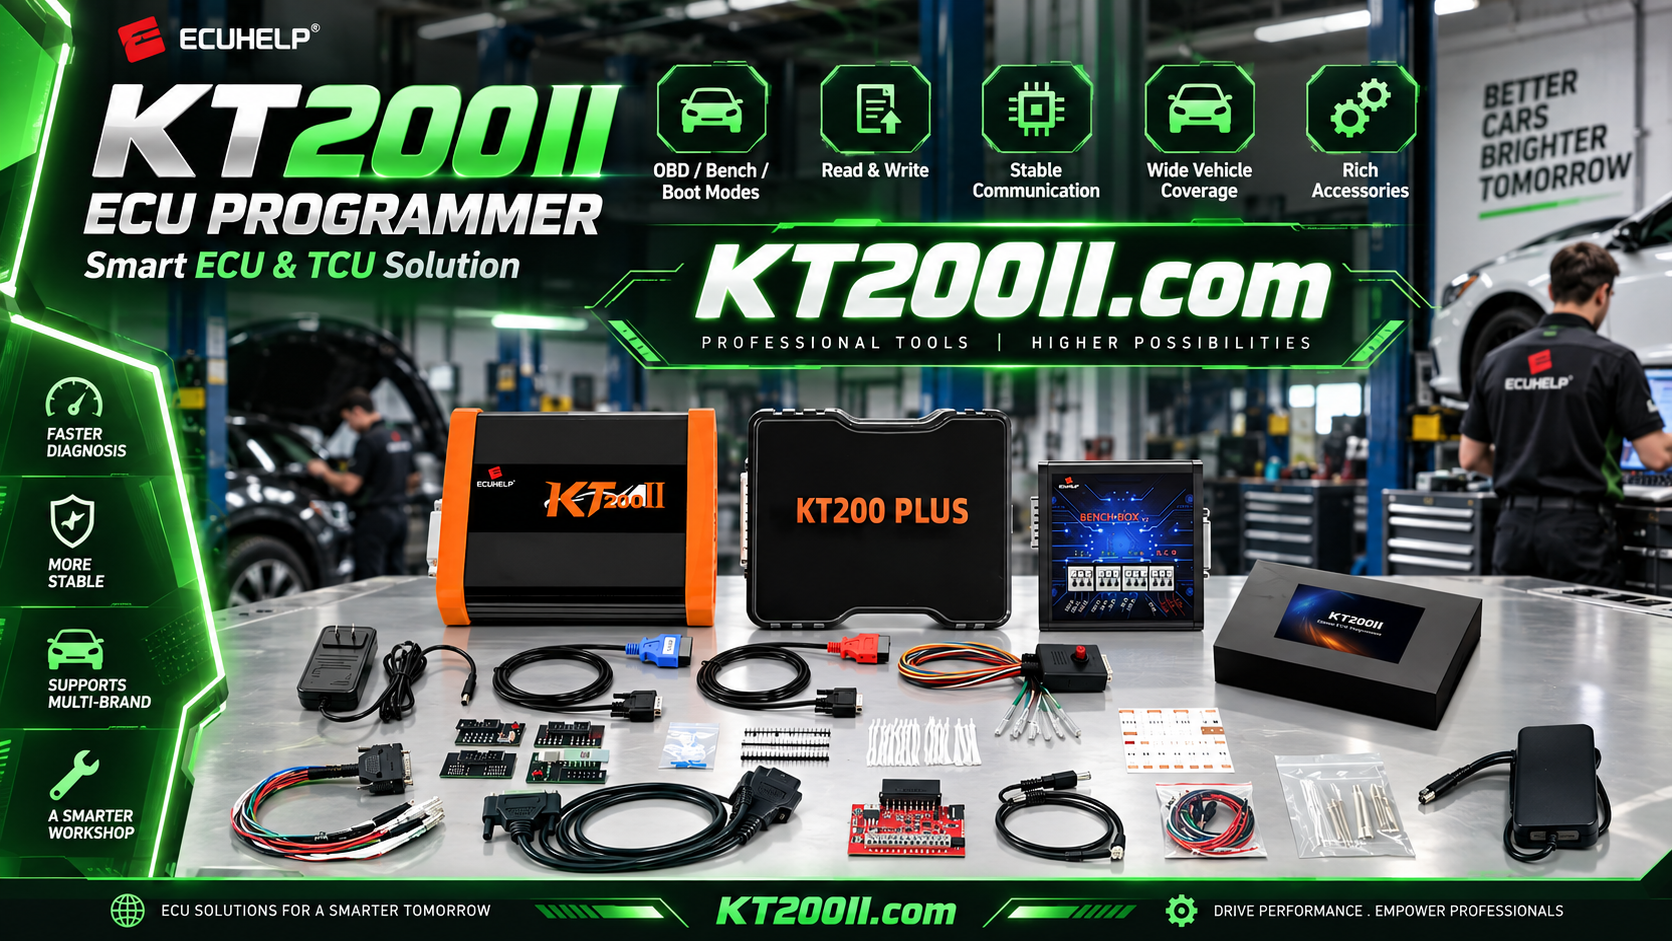
The KT200II ECU Programmer supports ECU and TCU reading, writing, backup, cloning and recovery operations through compatible OBD, Bench, Boot, JTAG and BDM protocols. The exact operation available depends on the controller, processor, software and selected programming method.
When the software reports that a Write operation is complete, technicians should not immediately disconnect everything and return the vehicle. A successful programming message confirms that the requested software process reached its expected endpoint. It does not independently confirm that the ECU starts normally, communicates with the vehicle network, contains the intended software or requires no additional adaptation.
Programming Result
Confirm the operation completed without an error, interruption or unexpected voltage event.
Controller Result
Reconnect, identify and verify the ECU or TCU hardware, software and communication.
Vehicle Result
Check diagnostic faults, starting, operation, adaptations and road behavior where appropriate.
Why Post-Programming Verification Matters
An ECU or TCU can accept a file and still require further investigation. The written file may belong to the wrong software revision, a power cycle may be incomplete, a connector may remain loose or vehicle modules may store temporary communication faults created during programming.
Verification helps technicians distinguish a successful operation from an incomplete workshop process.
| Verification Area | What It Confirms | Risk If Skipped |
|---|---|---|
| Programming log | The selected operation reached completion without a recorded error. | An interrupted or warning-state operation may be mistaken for success. |
| ECU identification | The controller responds and reports the expected hardware and software references. | The wrong software or an unresponsive controller may remain undiscovered. |
| Network communication | The programmed module and related vehicle systems can communicate normally. | CAN, K-Line, power or configuration problems may appear later. |
| Diagnostic scan | Persistent faults can be separated from temporary programming-related faults. | A vehicle may leave the workshop with active or recurring DTCs. |
| Adaptation and relearn | Required manufacturer-specific procedures have been completed. | Starting, shifting, idle or subsystem behavior may remain incorrect. |
| Operational test | The vehicle performs normally under safe, controlled conditions. | Problems may only appear after temperature, load or road-speed changes. |
Before Writing: Prepare the Verification Reference
Post-programming verification is strongest when the technician records the original ECU condition before making any change. Without a reliable before-and-after reference, it can be difficult to determine whether a software number, DTC or vehicle symptom changed during the job.
Before writing, record:
- Vehicle manufacturer, model, production year and VIN where appropriate
- Engine or transmission information
- Complete ECU or TCU label photograph
- ECU manufacturer and controller family
- OEM part number and hardware number
- Original software and calibration identification
- Processor or MCU where relevant
- Selected KT200II protocol and operation mode
- Original diagnostic scan and existing DTCs
- Original Flash, EEPROM, Micro or protocol-specific backup where supported
- File name, exact file size and source of the file intended for writing
Use the KT200II Supported ECU List to confirm the exact controller, processor, connection method and available operation before programming. Review the KT200II ECU Backup Guide to preserve the original data needed for comparison or recovery.
Step 1: Review the KT200II Write Result
Do not close the software immediately after the operation finishes. Read the final message carefully and preserve a screenshot of the result.
Record:
- Selected vehicle, ECU or TCU protocol
- Connection mode used
- Memory operation selected
- Name and size of the written file
- Write completion message
- Any checksum message
- Any warning displayed during the process
- Programming duration where useful
- Power-supply behavior during writing
Step 2: Complete the Correct Power or Ignition Cycle
After writing, follow the exact sequence displayed by the selected KT200II protocol. Procedures vary between OBD, Bench, Boot, JTAG and BDM operations.
A protocol may require one or more of the following:
- Switching the vehicle ignition off
- Waiting for a specified period
- Switching ignition on again
- Removing and restoring ECU power
- Ending a Bench or Boot session in a defined sequence
- Removing Boot, reset or GPT connections before normal communication
- Reassembling the ECU before vehicle testing
Do not invent a power cycle or rapidly disconnect the battery, ECU connector or programming harness. Follow the current instruction shown for the exact protocol.
Technicians can compare the communication methods on the official KT200II Operation Modes page.
Step 3: Reconnect and Read ECU Identification
After the required power cycle, reconnect using the correct supported method and perform ECU identification again. This is one of the most important post-write checks.
Compare the new identification with both the original record and the intended target file:
| Identifier | Verification Question | Important Note |
|---|---|---|
| Hardware number | Does the ECU still report the expected hardware? | Programming software should not be used to conceal an unconfirmed hardware mismatch. |
| Software number | Does it match the intended software or verified update? | A different number requires explanation, not an assumption. |
| Calibration number | Is the calibration correct for the engine, transmission and market? | Related hardware can use different vehicle-specific calibrations. |
| Programming or upgrade number | Did the expected manufacturer-specific reference change? | Interpret numbering according to the exact controller and vehicle. |
| VIN or vehicle identity | Is vehicle-specific information present where the ECU reports it? | Availability and relevance depend on the control unit. |
| Communication mode | Can the ECU communicate through its intended normal path? | Boot communication alone does not prove normal vehicle communication. |
If ECU identification fails after writing, stop before making another uncontrolled attempt. Check the required power cycle, voltage, grounds, connectors, communication lines, selected protocol and file compatibility.
Step 4: Confirm Normal ECU Communication
A controller recovered or written in Boot mode may communicate at processor level while still failing through the vehicle diagnostic network. Final verification should therefore include the ECU's normal supported communication path.
Depending on the job, confirm:
- The ECU or TCU responds through the expected vehicle or Bench connection.
- Communication remains stable rather than connecting only once.
- The controller does not repeatedly reset.
- The ECU power supply and grounds remain stable.
- CAN High, CAN Low or K-Line communication is restored where applicable.
- Other vehicle modules can communicate with the programmed controller.
- The programming device and USB connection can be removed without changing ECU behavior.
Step 5: Perform a Complete Diagnostic Scan
Use a suitable professional diagnostic scan tool after programming. KT200II performs supported ECU and TCU programming operations, while vehicle-wide DTC scanning, live-data analysis, coding and relearn procedures may require an appropriate diagnostic platform.
Save a complete scan before clearing anything. Compare it with the pre-programming report.
Temporary Communication Faults
Programming can temporarily disconnect an ECU from the vehicle network. Other modules may store voltage or lost-communication DTCs during the session. These faults should still be documented before they are cleared.
Persistent or Immediate-Return Faults
A fault that returns immediately after clearing requires investigation. Possible causes include incorrect software, an incomplete connection, incompatible calibration, missing coding, sensor or actuator problems, or a fault that existed before programming.
Do Not Clear the Evidence Too Early
Record every code, status and module before clearing DTCs. If a problem develops later, the original scan can help determine when the fault appeared.
Step 6: Verify Starting and Basic Operation
When it is safe to do so, confirm that the vehicle or system performs its basic functions. Do not move directly to a road test.
- Confirm the engine starts normally where the repair involves an engine ECU.
- Check for unusually long cranking, stalling or unstable idle.
- Observe warning lamps and instrument-cluster messages.
- Verify throttle response under safe stationary conditions.
- Confirm cooling fans, charging voltage and other relevant basic systems.
- For a TCU, confirm communication and selector recognition before driving.
- Monitor relevant live data with an appropriate diagnostic tool.
- Recheck for DTCs after the initial start and operating period.
Step 7: Complete Required Coding, Adaptation or Relearn
Some replacement, cloning, software-update or TCU procedures require additional vehicle-specific steps. These functions may be completed with a manufacturer diagnostic system or another suitable service tool rather than the ECU programmer itself.
Depending on the vehicle and controller, the workshop may need to confirm:
- ECU or TCU coding
- Immobilizer synchronization for authorized replacement work
- Throttle or idle adaptation
- Injector coding
- Gearbox basic settings or clutch adaptation
- Steering-angle or chassis calibration
- Component protection or manufacturer-specific authorization
- Reset of learned values when required by the repair procedure
Do not perform a reset or relearn simply because the function is available. Follow reliable service information for the exact vehicle and repair.
Step 8: Verify the Written Data Where Supported
If the KT200II protocol supports a suitable physical readback, technicians may read the programmed area again and compare it with the intended file. The correct comparison method depends on how the protocol handles headers, checksum, encryption, compression, address ranges and read formats.
Possible checks include:
- Confirming the expected file size
- Comparing software identification
- Comparing supported calibration areas
- Checking file hashes when the read format is directly comparable
- Verifying that repeated reads are stable
- Confirming that checksum handling completed correctly
Step 9: Perform a Controlled Road Test
A road test should only be performed after communication, diagnostic and stationary checks have passed. Follow local laws and workshop safety procedures.
For an engine ECU, observe:
- Starting and warm-up behavior
- Idle stability
- Throttle response
- Boost, fuel and temperature behavior where relevant
- Warning lamps
- New or pending DTCs
For a TCU, observe:
- Selector recognition
- Gear engagement
- Shift quality
- Clutch or converter behavior
- Transmission temperature
- Limp mode or warning messages
Begin with low-load operation. Do not use full-load testing as the first confirmation after programming.
Step 10: Save the Final Workshop Record
A successful programming job should leave a complete technical record. This protects the customer, the workshop and future repair decisions.
Save the following in the job folder:
- Vehicle and customer job information
- ECU or TCU label photographs
- Original ECU identification
- Original diagnostic scan
- Original Flash, EEPROM, Micro and other supported backup files
- Exact file written to the ECU
- KT200II protocol and connection mode
- Wiring or connection screenshots
- Write-completion screenshot
- Post-write ECU identification
- Final diagnostic scan
- Adaptation or relearn report where applicable
- Road-test result and final technician notes
Keep untouched original files separate from working, modified and final-written files. Clear records make future stock restoration, software comparison or recovery much safer.
Professional KT200II Post-Programming Workflow
- Review the completion message. Confirm that the correct protocol and memory operation completed without an unresolved error.
- Save the programming evidence. Preserve the written filename, file size, screenshots, voltage information and final message.
- Follow the required power cycle. Complete the exact ignition or ECU power sequence shown by the protocol.
- Read ECU identification again. Confirm communication and compare the resulting hardware, software and calibration references.
- Check normal communication. Verify that the controller responds through its intended OBD or vehicle-network path where applicable.
- Run a complete diagnostic scan. Save all DTCs before clearing temporary programming-related faults.
- Test basic vehicle operation. Confirm starting, idle, warning lamps, selector status and relevant live data.
- Complete required adaptations. Perform only the coding, reset or relearn procedures specified for the repair.
- Verify written data where supported. Use a compatible readback or ECU identification comparison when the protocol allows it.
- Perform a controlled road test. Begin at low load and monitor vehicle behavior and diagnostic status.
- Scan the vehicle again. Confirm that faults do not return after operation.
- Archive the final record. Save the original data, written file, final ECU ID, diagnostic reports and technician notes.
Common Problems After ECU or TCU Programming
| Symptom | Possible Area to Check | Recommended First Action |
|---|---|---|
| No ECU communication | Power cycle, voltage, ground, connector, protocol, file compatibility or interrupted write | Stop additional writing and preserve all operation details before beginning structured diagnosis. |
| ECU identifies but engine does not start | Software compatibility, vehicle-specific data, coding, immobilizer synchronization or existing mechanical fault | Compare pre-write and post-write identification and run a complete diagnostic scan. |
| Multiple communication DTCs | Modules disconnected during programming, low voltage or network connection problem | Save the scan, restore normal connections, clear faults and check which codes return. |
| Software number is unexpected | Different target file, manufacturer supersession, Virtual Read selection or wrong software family | Compare the written file with the original ECU ID and verified software information. |
| Transmission warning after TCU programming | Missing basic settings, incompatible data, incomplete coding or adaptation requirement | Scan the TCU and follow the exact manufacturer procedure before road testing. |
| Vehicle starts but runs incorrectly | Wrong calibration, unmatched application, persistent DTC, sensor issue or adaptation problem | Stop high-load testing and compare calibration, diagnostic and live-data information. |
| Write reports success but readback differs | Checksum changes, encryption, headers, address range or incompatible comparison format | Confirm whether the protocol produces directly comparable read and write files. |
When Should You Stop and Request Support?
Stop before another write if:
- The ECU no longer communicates after programming.
- The final message contains an unresolved warning or error.
- The written file source or compatibility is uncertain.
- Hardware, software or processor information does not match.
- Voltage dropped or communication disconnected during writing.
- The ECU identifies differently from the expected result.
- The vehicle will not start or enters immediate limp mode.
- A required coding or adaptation procedure is unknown.
- The original backup is incomplete or unavailable.
Prepare the ECU label, vehicle details, original identification, protocol name, operation mode, original files, written file, screenshots, voltage information and diagnostic reports before contacting technical support.
Official KT200II Resources
Use the official KT200II navigation pages throughout the programming workflow:
KT200II Product Center KT200II Operation Modes KT200II Software Download KT200II Support List KT200II Technical BlogFrequently Asked Questions
Does a successful KT200II Write message prove the ECU is fully repaired?
No. It confirms the programming operation reached its expected endpoint. The controller and vehicle must still be checked for identification, communication, DTCs and correct operation.
Should I read the ECU identification after programming?
Yes. Post-write identification helps confirm communication and the resulting hardware, software and calibration references.
Why are communication DTCs stored after programming?
Other modules may record temporary faults while an ECU is powered off or disconnected. Save the complete scan before clearing faults, then investigate any codes that return.
Can KT200II perform every coding or relearn procedure?
No universal ECU programmer performs every manufacturer diagnostic procedure. Some coding, adaptation or relearn operations require a suitable diagnostic or manufacturer service tool.
Should I write the file again if the ECU does not communicate?
Not until the cause is identified. Check power, ground, connection, protocol, written file and operation history, then use the correct supported recovery workflow.
Is a road test required after ECU programming?
A controlled operational test is recommended when appropriate, but only after communication, diagnostic and stationary checks have passed and the vehicle is safe to drive.
Where can I check whether my ECU or TCU is supported?
Use the official KT200II Support List and search by vehicle, ECU or TCU family, processor and connection mode.
Where can international customers buy KT200II?
International customers can purchase genuine KT200II equipment through the HELPECU official global store.
Final Verification Checklist
- The correct KT200II protocol and operation were used.
- The final Write message was saved.
- No unresolved error or warning was ignored.
- The required ignition or power cycle was completed.
- The ECU or TCU communicates normally.
- Post-write ECU identification was saved.
- Hardware, software and calibration references were checked.
- A complete diagnostic scan was performed.
- Temporary and persistent DTCs were distinguished.
- Starting and stationary operation were checked.
- Required coding or adaptation was completed.
- Readback verification was performed where supported and appropriate.
- A controlled road test was completed where safe and necessary.
- A final diagnostic scan was saved.
- Original files and final workshop records were archived.
Choose the Official KT200II ECU Programmer
KT200II provides professional ECU and TCU reading, writing, backup, cloning and recovery workflows for supported applications. Check compatibility first, download official software and purchase through the ECUHELP official global store.
Buy KT200II from HELPECU Check Supported ECUs Read KT200II Guides