
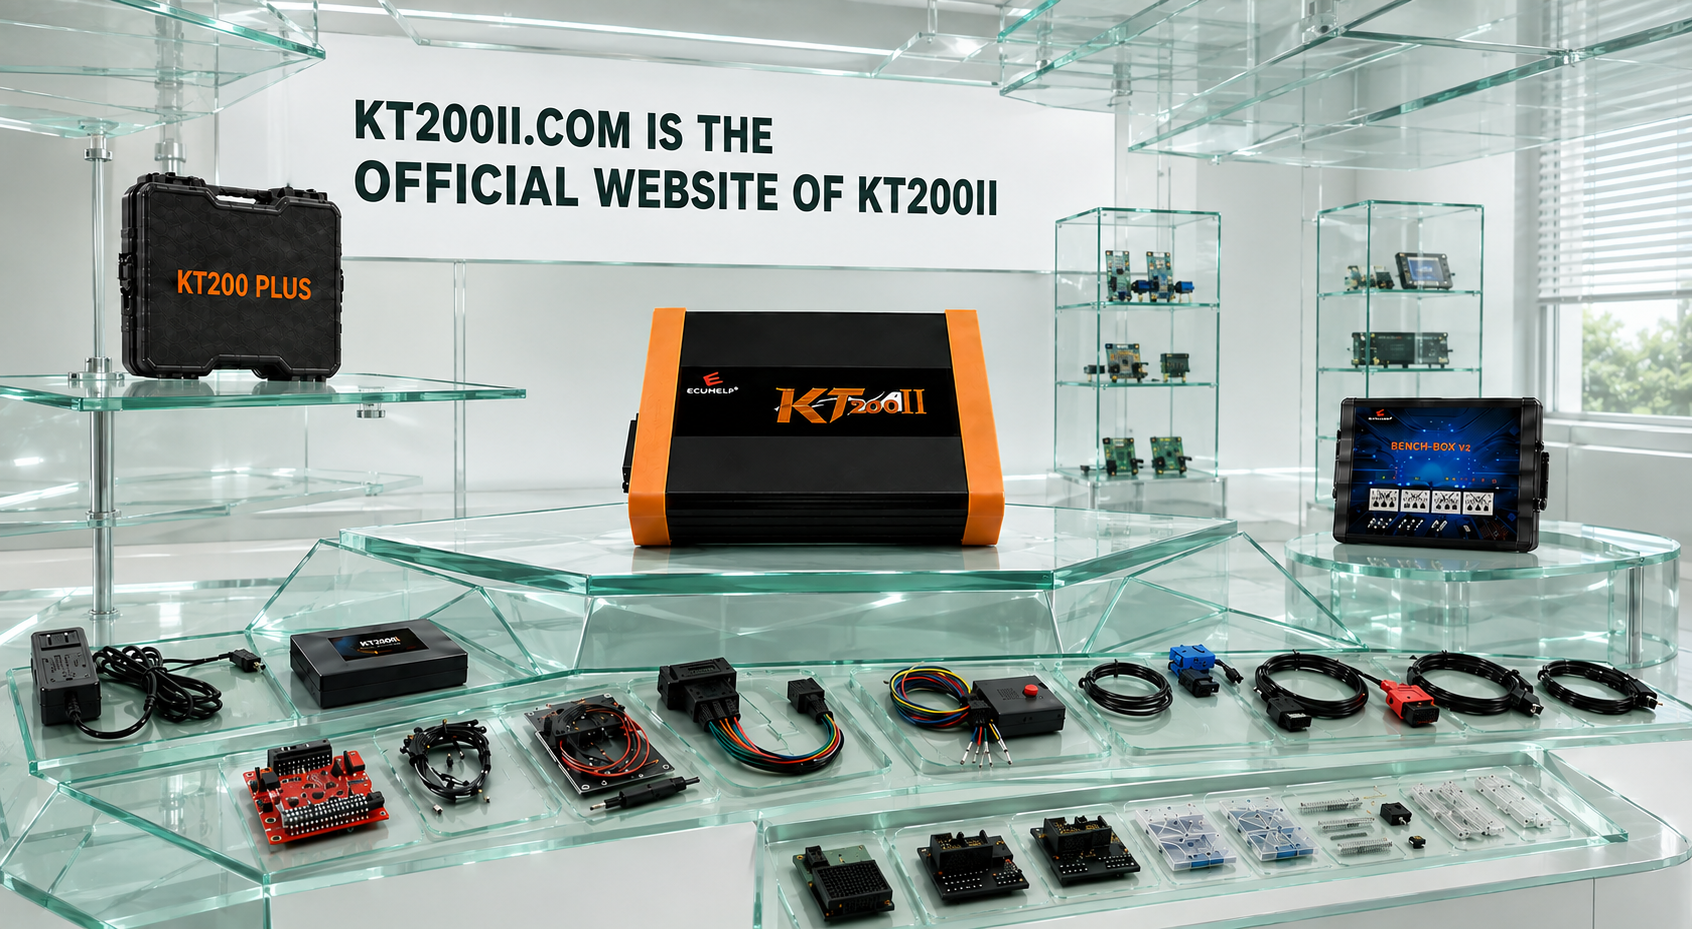
KT200II Delphi DCM7.1A TC297 Programming
KT200II Delphi DCM7.1A Programming Guide: OBD Read Write and TC297 Boot Mode
Delphi DCM7.1A is a modern diesel engine control unit used in selected Peugeot, Citroen and related Stellantis commercial-vehicle applications. KT200II has been successfully tested for OBD reading and writing on vehicles including the Citroen Jumpy and Opel Vivaro.
When deeper access is required, KT200II also provides a supported Infineon AURIX TC297 Boot direction for compatible DCM7.1A and DCM7.1B controllers. This guide explains how to select the appropriate mode, verify the ECU, preserve the original data and reduce avoidable programming risks.
Check Official KT200II Resources First
Protocol coverage and available functions can change with software releases. Confirm the current DCM7.1A entry before connecting or opening the ECU.
What Is the Delphi DCM7.1A?
DCM7.1A belongs to the Delphi diesel engine-control family. It is associated with the Infineon AURIX TC297 processor in supported direct-access procedures.
The controller can manage fuel injection, turbocharger control, torque calculation, emissions-related systems and communication with other vehicle modules. The ECU family name alone does not confirm file compatibility or the correct programming mode.
| Identification field | Why it matters | Workshop action |
|---|---|---|
| ECU manufacturer | Separates Delphi from Bosch and Continental controllers | Confirm the manufacturer on the label |
| ECU family | Distinguishes DCM7.1A from DCM7.1B and other DCM variants | Record the complete designation |
| OEM part number | Links the ECU to its specific vehicle application | Photograph the complete label |
| Hardware number | Influences file and donor compatibility | Compare it before writing or cloning |
| Software number | Identifies the program and calibration family | Save the electronic ECU identification |
| Processor | Determines the relevant Boot driver | Confirm TC297 where displayed |
Documented DCM7.1A Applications
| Vehicle example | Engine | Read method | Write result |
|---|---|---|---|
| Citroen Jumpy 2020 | 2.0 diesel, 150 HP | Supported OBD Read | OBD Write completed |
| Opel Vivaro 2020 | 2.0 diesel | OBD virtual read | OBD Write and checksum completed |
| PSA DCM7.1A controller | Application-dependent | Direct TC297 Boot Read | Supported Boot Write and checksum |
These workshop examples confirm useful programming directions, but they do not mean that every model year or ECU software version offers identical functions. Search the complete vehicle and ECU information in the current software.
OBD or Boot: Which Mode Should You Choose?
| Mode | Connection | Best suited to | Main precaution |
|---|---|---|---|
| OBD identification | Vehicle diagnostic connector | Confirming ECU hardware and software information | Maintain stable vehicle voltage |
| OBD virtual read | Vehicle diagnostic connector | Obtaining a matching original file through ECU identification | Verify the returned software reference |
| OBD write | Vehicle diagnostic connector | A healthy vehicle with a supported DCM7.1A protocol | Follow ignition prompts exactly |
| AURIX Boot | Direct ECU connection plus board-level access | Deeper memory access, backup or supported recovery | Use the exact TC297 board diagram |
Understanding DCM7.1A Virtual Read
A virtual read uses the ECU identification to obtain a matching original file. It is different from transferring all data directly from the connected ECU memory.
- Connect KT200II securely to the vehicle diagnostic port.
- Use a suitable battery-support unit.
- Select the exact vehicle and DCM7.1A protocol.
- Read and save the ECU identification.
- Request the supported virtual-read file.
- Compare the returned software reference with the ECU ID.
- Save the file as an untouched original reference.
- Create a separate working copy for authorized file preparation.
Equipment Required for OBD Programming
- Official KT200II ECU programmer
- KT200II OBD cable
- Windows computer with current official KT200II software
- Suitable vehicle battery-support unit
- Reliable USB connection
- Vehicle diagnostic equipment
- Stable internet connection when the selected operation requires it
- ECU identification and vehicle job records
- Two separate locations for original file storage
Step-by-Step DCM7.1A OBD Workflow
Record the VIN, mileage, engine information, existing faults and whether the engine currently starts and communicates.
Save a complete pre-programming report before clearing any fault codes.
Connect a programming support unit and switch off unnecessary electrical consumers.
Confirm the vehicle, Delphi DCM7.1A and supported OBD operation in the current KT200II software.
Save the hardware number, software number, calibration information and protocol description.
Use the physical or virtual Read function supplied by the confirmed protocol.
Check the file source, software match, size and successful operation status.
Verify the target file, checksum procedure, power supply and required ignition sequence.
Safe OBD Writing Procedure
- Confirm that the original file and ECU identification are stored safely.
- Compare the target file with the connected DCM7.1A identification.
- Keep the vehicle connected to stable battery support.
- Close unnecessary computer programs.
- Prevent the laptop from sleeping or restarting.
- Secure the OBD and USB connections.
- Select the same confirmed DCM7.1A protocol.
- Load the verified target file.
- Review all software messages before confirming Write.
- Do not operate doors, lights or vehicle accessories.
- Follow every ignition-cycle instruction exactly.
- Wait for successful completion before disconnecting KT200II.
When TC297 Boot Mode Is Required
Boot mode may be appropriate when the technician needs a deeper physical backup, normal communication is unavailable or the exact recovery procedure requires direct access to the AURIX processor.
Use the documented KT200II path:
The DCM7.1A/B Boot procedure requires the multifunction cable, Bench Box V.2 where specified and the exact board-level connection shown in the software.
DCM7.1A Boot Connection Preparation
The documented DCM7.1A/B layout can include a Boot contact positioned beneath the processor. A spring-loaded probe may be used where the protocol instructions specify it. Some board versions may offer an electrically common alternative pad on the underside of the PCB.
The technician must determine the correct connection from the exact KT200II protocol diagram. Do not assume that every board revision exposes the same alternative point.
| Connection item | Required verification | Common error |
|---|---|---|
| ECU identity | Confirm DCM7.1A and the actual board revision | Using a DCM7.1B image without verification |
| Board orientation | Match processor and connector locations with the diagram | Rotating the diagram incorrectly |
| Positive supply | Connect every supply terminal shown | Providing incomplete ECU power |
| Ground | Connect all required grounds securely | Assuming one ground is sufficient |
| Communication wiring | Match the exact AURIX Boot diagram | Reusing another Delphi DCM pinout |
| Boot point | Confirm the exact under-processor point or approved alternative pad | Contacting a visually similar test pad |
| Connection stability | Secure the probe without excessive force | Allowing the probe to move during writing |
Equipment Required for Boot Mode
- Official KT200II programmer
- KT200II multifunction cable
- Bench Box V.2 when required by the selected protocol
- Regulated ECU programming power supply
- Digital multimeter
- Stable spring-loaded probe or approved contact method
- Professional ECU-opening equipment
- Magnification and adequate lighting
- ESD-controlled work area
- Materials for professional ECU resealing
Step-by-Step TC297 Boot Reading Workflow
Preserve the diagnostic report, ECU ID, original OBD file and details of any failed operation.
Capture the complete label, connectors, housing and evidence of previous opening or repair.
Avoid bending the housing or damaging components near the cover edge.
Compare the actual TC297 PCB with the current DCM7.1A/B protocol diagram.
Verify power, ground, communication and Boot contacts before switching on the supply.
Use only the confirmed PSA DCM7.1A/B Boot protocol.
Save every memory area provided by the protocol and required for the intended work.
Check the memory description, file size and operation status. Perform a repeated Read where practical.
Organizing the Original Backup
Recommended folder:
Vehicle_DCM7.1A_OEM-Number_Job-Date
Recommended filenames:
DCM7.1A_ECU-ID.txtDCM7.1A_OBD_VIRTUAL-ORIGINAL.binDCM7.1A_TC297_BOOT_FLASH_ORIGINAL.binDCM7.1A_TC297_BOOT_EEPROM_ORIGINAL.binDCM7.1A_TC297_BOOT_READ-2.binDCM7.1A_MODIFIED-V1.bin
Use only the memory names displayed by the protocol. Do not call a calibration file a full backup unless the selected operation confirms that it contains complete recovery data.
Checks Before Writing
| Verification | Required confirmation |
|---|---|
| ECU family | The connected controller is Delphi DCM7.1A |
| Hardware match | The target file matches the actual ECU hardware |
| Software match | The software and calibration references have been compared |
| Vehicle application | The file belongs to the correct vehicle and engine |
| Programming mode | The file is intended for the selected OBD or Boot operation |
| Memory area | The file matches the selected Flash, EEPROM or protocol-specific function |
| Checksum | Checksum processing has been confirmed |
| Original backup | A verified untouched original is stored in two locations |
| Power stability | The supply can remain stable until writing finishes |
Safe Boot Writing Procedure
- Verify the original Boot backup and target file.
- Confirm that the PCB still matches the selected diagram.
- Inspect every supply, ground and communication connection.
- Confirm that the Boot probe is stable.
- Measure supply voltage at the ECU under load.
- Secure the ECU, Bench Box, cables and computer.
- Select the correct TC297 memory-writing operation.
- Load only the corresponding verified file.
- Follow every software power-cycle instruction.
- Do not move the probe or ECU during programming.
- Wait for successful completion before removing power.
- Identify or read the ECU again where the protocol permits.
Checksum Handling
Documented DCM7.1A operations include checksum processing during supported OBD and Boot workflows. Checksum behavior can still depend on the exact protocol, file format and software release.
Review the KT200II message before Write and record whether checksum correction was performed. A valid checksum does not replace hardware and software compatibility verification.
DCM7.1A Troubleshooting
| Symptom | Inspect first | Recommended action |
|---|---|---|
| No OBD identification | Vehicle voltage, diagnostics and protocol | Run a complete scan and confirm the actual ECU |
| No matching virtual-read file | Software ID and file availability | Do not substitute a similar file; use a verified source |
| OBD communication stops | Battery support, ignition sequence and connector | Stabilize the vehicle before another controlled attempt |
| Boot ECU does not respond | TC297 driver, power, ground and Boot contact | Remove power and verify the complete diagram |
| Boot contact is unstable | Probe alignment and PCB support | Correct the mechanical setup before reading or writing |
| Read files differ | Power, USB communication or Boot contact | Do not accept the backup until the setup is stable |
| Write is interrupted | Failure stage and current communication condition | Preserve all error details and prepare the original data for supported recovery |
Recovery Preparation
Recovery planning begins before the first Write. Preserve:
- Complete ECU label photographs
- Original electronic ECU identification
- Exact KT200II protocol and programming mode
- Original OBD or virtual-read file
- Every available TC297 Boot memory file
- The file written during the interrupted operation
- Error message and failure percentage
- Wiring and board diagram used
- Power-supply conditions
- Current ECU communication status
Do not experiment with random DCM7 or TC297 protocols after a failed Write. Use only the recovery direction confirmed for the exact controller.
Post-Write Verification
- Read and save the ECU identification again.
- Confirm that the expected software information is displayed.
- Perform a complete diagnostic scan.
- Document faults before clearing appropriate temporary codes.
- Verify communication with related modules.
- Check engine starting and stable idle operation.
- Inspect relevant live data for unreasonable values.
- Complete required coding or adaptation procedures.
- Archive the final identification and exact written file.
- Reseal the ECU professionally if it was opened.
Frequently Asked Questions
Can KT200II program Delphi DCM7.1A?
Yes. Documented KT200II operations include DCM7.1A OBD Read and Write, virtual reading and checksum handling on compatible vehicles, plus supported TC297 AURIX Boot access.
Which vehicles have been tested?
Documented examples include a Citroen Jumpy 2020 2.0 150 HP and an Opel Vivaro 2020 2.0 diesel.
Does every DCM7.1A require Boot mode?
No. Use OBD when the exact vehicle-side protocol provides the required operation. Boot is reserved for deeper access or supported recovery.
What is the DCM7.1A Boot driver?
The documented path is Tools Boot Mode, Infineon AURIX Boot, Boot AURIX TC297 PSA DCM7.1A/B.
Is the Boot point underneath the processor?
The documented procedure includes a Boot contact beneath the processor and may show an approved electrically common alternative pad. Follow only the diagram for the actual PCB revision.
Can I use a DCM7.1B file on DCM7.1A?
Not merely because both appear in one Boot driver. Confirm the exact ECU, hardware, software, vehicle application and memory operation before writing.
Where can I buy the official KT200II?
ECUHELP is the developer of KT200II, KT200II.com is the Official Product Website, and international customers can purchase it from the HELPECU Official Global Store.
Build a Reliable DCM7.1A Workflow
A professional KT200II Delphi DCM7.1A job follows a controlled sequence: identify the vehicle and ECU, confirm the available OBD operation, stabilize power, preserve the electronic identification and original file, and verify the target file before writing.
Use TC297 AURIX Boot only when deeper access is required. Confirm the circuit board, use the exact connection diagram and preserve every available original memory area before changing ECU data.
Check DCM7.1A Support or Buy KT200II
Confirm the exact vehicle, ECU number, software and required OBD or Boot operation before ordering or programming.
Check DCM7.1A Support View KT200II Product Buy from HELPECU


Comment (1)