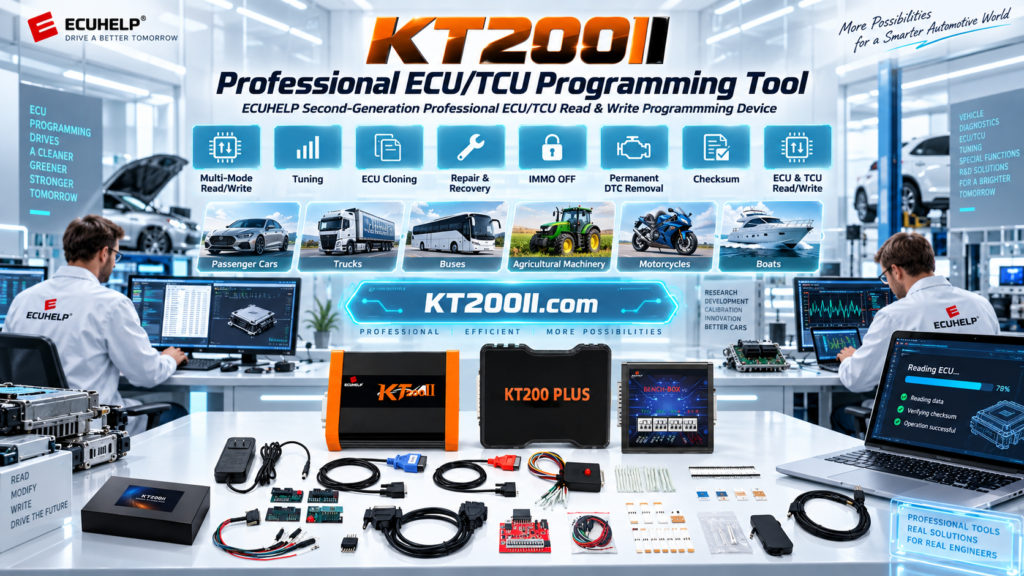
KT200II ECU Replacement Programming Guide
KT200II ECU Replacement Programming Guide: Match, Back Up and Validate a Replacement ECU
Replacing an ECU is not simply a matter of installing another control unit with a similar connector. The replacement ECU must be checked against the original unit, the vehicle application, the hardware and software identifiers, and the programming method supported by the protocol.
The official KT200II ECU programmer gives professional technicians a structured way to identify a control unit, create a backup where supported, select the correct operation mode, write compatible data, and validate the result.
Why ECU Replacement Matching Matters
Two ECUs may look identical externally but contain different processors, memory layouts, software versions, calibration areas, or immobilizer-related data. Writing an incorrect file can lead to communication failure, diagnostic trouble codes, no-start conditions, or an ECU that requires additional programming.
Before connecting the KT200II, compare the original and replacement units carefully. The objective is to confirm that the replacement ECU is technically suitable for the intended vehicle and that the planned operation is listed as supported.
| Item to Compare | What to Check | Why It Matters |
|---|---|---|
| Vehicle application | Brand, model, model year, engine, transmission and market | Confirms that the ECU belongs to the correct vehicle configuration |
| ECU identification | Manufacturer, ECU family, part number and serial information | Helps avoid mixing different ECU generations |
| Hardware number | Hardware index, board version and housing details | Different hardware may require a different software file or protocol |
| Software number | Software version, calibration identifier and coding information | Confirms whether the file is compatible with the target unit |
| Processor and memory | Microcontroller, EEPROM, flash and memory size where available | Determines the correct protocol and read/write data area |
| Connector and wiring | Pin layout, power pins, ground pins and communication lines | Prevents incorrect bench or boot connections |
Step 1: Record the Original ECU Before Removal
Record diagnostic trouble codes, ECU identification, software information, vehicle mileage data where relevant, and any symptoms reported by the customer.
Keep clear images of the original ECU label, part number, hardware number, software identifier and connector orientation. These records are useful when comparing the replacement unit.
Do not discard or modify the original control unit until the replacement has been programmed and verified. The original unit may be needed for data recovery or additional comparison.
Step 2: Check the KT200II Supported ECU Database
Open the official KT200II supported ECU list and search by vehicle, ECU family, processor, read/write method or connection mode. The support database should be checked before purchasing a replacement unit or starting a programming operation.
Confirm these points:
- The exact vehicle or ECU family is listed.
- The required read, write, backup or transfer function is available.
- The correct connection method is shown.
- The required KT200II version and accessories are available.
- The target ECU hardware and software identifiers are compatible.
Important: A vehicle being listed does not automatically mean that every operation is supported. OBD, Bench, Boot, JTAG and BDM availability depends on the ECU type, processor, protocol and software version.
Step 3: Choose the Correct KT200II Operation Mode
The official KT200II operation modes guide explains how different ECUs are accessed. Select the mode shown for the exact ECU protocol rather than choosing a mode based only on convenience.
| Operation Mode | Typical Replacement ECU Use | Technical Consideration |
|---|---|---|
| OBD | Vehicle-side communication where the protocol supports it | Requires stable vehicle power and reliable diagnostic communication |
| Bench | Direct ECU connection outside the vehicle | Requires correct pinout, power supply and communication wiring |
| Boot | Advanced access when deeper processor-level communication is required | Requires technical experience and precise connection control |
| JTAG | Selected control units using a direct microcontroller interface | Used only on supported ECU platforms |
| BDM | Selected ECU generations requiring background debug access | Requires the correct adapter, wiring and supported protocol |
Step 4: Create and Verify a Backup
Where the selected protocol allows it, use the KT200II to read the available ECU data before writing to the replacement unit. Save the file using a clear naming system that includes the vehicle, ECU part number, hardware number, software version and date.
| Recommended File Record | Example Information |
|---|---|
| Vehicle | Brand, model, year and engine |
| Original ECU | Manufacturer, part number and hardware number |
| Replacement ECU | Manufacturer, part number and hardware number |
| Operation | Read, write, backup, configuration transfer or supported cloning function |
| Connection | OBD, Bench, Boot, JTAG or BDM |
| File validation | File size, checksum status and technician notes |
A virtual read or protocol-generated file is not automatically a complete physical clone of every memory area. Always follow the protocol notes and confirm which data areas are included before proceeding.
Step 5: Prepare Stable Power and Wiring
ECU replacement programming requires stable voltage throughout identification, reading and writing. Use a regulated power supply suitable for the vehicle or bench setup. Check the pinout twice before applying power and keep communication cables away from sources of electrical interference.
During the operation:
- Do not disconnect the ECU or programming cable.
- Do not switch off the workshop computer.
- Do not allow the vehicle battery or bench supply to drop below the required level.
- Do not open unrelated software that may interrupt the programming computer.
- Do not write a file until the ECU and file identifiers have been reviewed.
Step 6: Write the Compatible Data to the Replacement ECU
After checking the file and the target ECU, select the supported write function in the KT200II software. Read every on-screen warning carefully and keep a record of the operation result.
Only perform a configuration transfer, supported cloning function or replacement write operation when the protocol documentation confirms that the function applies to the exact ECU. If the replacement ECU requires manufacturer-specific online pairing or a separate vehicle procedure, that process may be outside the KT200II programming operation.
Professional repair notice: ECU programming should be performed by trained technicians on vehicles and control units for which they have authorization. Do not use programming tools to defeat vehicle security systems or access vehicles without permission.
Step 7: Validate the Replacement ECU
Successful writing is only one part of the repair. After programming, reinstall the ECU correctly, connect the vehicle battery or bench supply, and perform a complete validation process.
| Validation Area | Recommended Check |
|---|---|
| Communication | Confirm that the diagnostic scanner can identify the replacement ECU |
| Fault memory | Read and record current DTCs before clearing them |
| Vehicle functions | Check starting, engine operation, transmission communication and related systems |
| Data consistency | Compare identification and software information with the intended application |
| Road or bench test | Perform an authorized test under safe conditions and recheck faults afterward |
| Service report | Save the final file, operation log, ECU numbers and test results |
Use the Official KT200II Resources
For a reliable workflow, use the official technical pages before starting an ECU replacement job:
- KT200II product introduction for tool versions and features.
- KT200II operation modes for OBD, Bench, Boot, JTAG and BDM access.
- KT200II software download for supported Windows installation packages.
- KT200II supported ECU list for vehicle and protocol compatibility.
- KT200II technical blog for programming guides and workshop procedures.
Frequently Asked Questions
Can KT200II program every replacement ECU?
No. Programming availability depends on the vehicle, ECU type, processor, protocol, software version and selected KT200II package. Always check the official support list first.
Is the same part number enough to confirm compatibility?
No. The part number is important, but hardware index, software version, processor, connector configuration and vehicle application should also be compared.
Is a virtual read always a complete ECU clone?
No. A virtual read may provide the data required by a supported protocol, but it should not be assumed to contain every physical memory area. Follow the protocol description and save the original unit whenever possible.
Should the original ECU be kept after programming?
Yes. Keep the original ECU and all original files until the replacement has passed communication, fault-memory and functional checks.
Where can I purchase the official KT200II?
Global customers can purchase the genuine ECUHELP KT200II from the official Helpecu KT200II product page. Contact the official team with the vehicle brand, model, year, ECU number and required operation if you need help selecting a version.
Start Your ECU Replacement Workflow with KT200II
The official KT200II provides a professional workflow for compatible ECU identification, backup, programming and validation. Check the support database before operation, select the correct connection mode, and keep complete records for every replacement ECU job.