KT200II ECU Programming Pre-Operation Checklist
KT200II ECU Programming Checklist: What to Verify Before Read or Write
A successful ECU programming job begins before the technician clicks Read or Write. Correct vehicle identification, protocol selection, power preparation, wiring verification and original-data protection all affect the result.
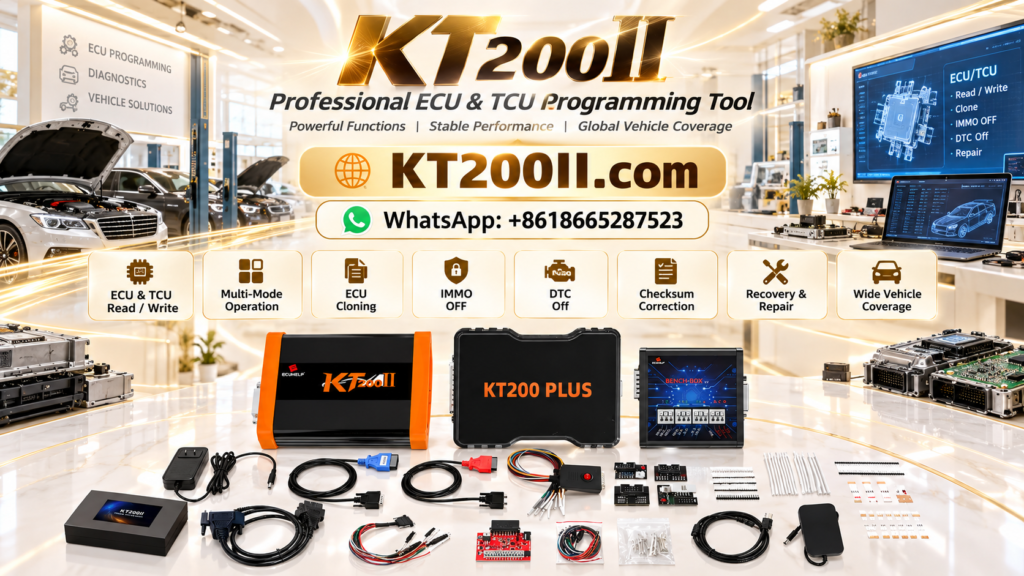
The official KT200II ECU Programmer supports selected ECU and TCU reading, writing, cloning, repair and tuning workflows through OBD, Bench, Boot, JTAG and BDM modes. This checklist helps technicians organize the preparation stage for supported applications.
Why Use a Pre-Operation Checklist?
ECU programming problems are often caused by preparation errors rather than the programmer itself. A missing backup, wrong protocol, weak ground, unstable voltage or incompatible file can turn a routine operation into a recovery job.
A short checklist helps the technician confirm the job scope, identify potential risks and document the ECU condition before any data is changed.
KT200II ECU Programming Checklist
| Check | Required Confirmation | Status |
|---|---|---|
| Vehicle identity | Brand, model, year, engine, transmission and VIN recorded | □ Ready |
| ECU identity | Supplier, part number, hardware and software numbers recorded | □ Ready |
| Protocol | Exact ECU entry and required operation confirmed | □ Ready |
| Connection mode | OBD, Bench, Boot, JTAG or BDM confirmed | □ Ready |
| Power | Stable vehicle or Bench supply prepared | □ Ready |
| Wiring | Power, ground, ignition and communication lines verified | □ Ready |
| Original data | Flash, EEPROM, MCU or other available data backed up | □ Ready |
| Target file | Hardware, software, size and checksum compatibility checked | □ Ready |
| Post-write plan | Communication, coding, adaptation and fault verification planned | □ Ready |
1. Confirm the Vehicle and ECU
Record the complete vehicle information before connecting the KT200II. The model name alone is not enough because one vehicle platform may use multiple engine ECUs, transmission controllers, hardware revisions and software families.
Record These Details
- Vehicle brand, model and production year
- VIN, engine code and transmission code
- ECU or TCU supplier
- OEM and ECU manufacturer part numbers
- Hardware and software identification
- Processor and memory information where available
- Required operation: Read, Write, Clone, Backup or Recovery
2. Confirm the Supported KT200II Protocol
Search the official support database using several matching details instead of a single keyword. Combine the vehicle, ECU family, processor, memory type, operation and connection mode where possible.
A vehicle being listed does not automatically mean that every operation is supported. Check whether the required Read, Write, Backup, Clone or Recovery function is specifically available.
If you are uncertain about protocol selection, review the KT200II Operation Modes page before preparing cables or opening the ECU.
3. Select the Least Invasive Supported Mode
| Mode | Use When | Key Preparation |
|---|---|---|
| OBD | The exact ECU protocol supports vehicle-side access | Stable vehicle voltage and reliable diagnostic connection |
| Bench | The ECU requires direct external communication | Controller-specific pinout, power and communication wiring |
| Boot | The protocol requires deeper processor-level access | Boot pin, startup sequence and advanced technical handling |
| JTAG or BDM | The supported ECU uses a compatible debug interface | Correct adapter, orientation and stable contact |
A deeper mode is not automatically better. Use the least invasive connection method that provides the required operation for the exact controller.
4. Check Power, Ground and Communication
Test the power path before programming. For OBD work, use suitable battery support and switch off unnecessary electrical loads. For Bench or Boot work, use a regulated power supply with sufficient capacity.
Check power polarity, ground quality, ignition or wake-up signals and CAN or K-Line connections. Measure voltage at the ECU rather than relying only on the supply display.
5. Save the Original Data
When supported, read the original ECU before making any changes. Save identification data, Flash, EEPROM, MCU or other available memory areas separately.
Use a clear filename containing the VIN, ECU part number, software version, memory area and date. Keep one untouched copy in a separate location.
A Virtual Read, calibration file or partial read may not contain enough data for cloning or recovery. Confirm what the selected protocol actually reads before treating the file as a complete backup.
6. Verify the File Before Writing
Compare the target file with the ECU identification. Check the hardware family, software version, file size, memory area and checksum status where applicable.
| File Check | Question to Ask |
|---|---|
| Hardware | Does the file belong to the same hardware generation? |
| Software | Does the software family match the target ECU? |
| Memory | Is the file intended for Flash, EEPROM, MCU or another area? |
| Size | Does the size match the selected protocol operation? |
| Checksum | Does the protocol support correction for this file and ECU? |
7. Prepare the Computer and Software
Install the official KT200II software and drivers from the KT200II Software Download page. Confirm that the programmer is recognized before connecting the vehicle or ECU.
Close unnecessary applications, prevent automatic sleep or restart and ensure that the computer has sufficient battery or external power for the complete operation.
8. Complete the Read or Write Operation
Follow the protocol prompts step by step. Do not disconnect the USB cable, ECU harness, power supply or vehicle battery support while the operation is in progress.
If an error appears, record the exact message and stop before repeating the operation. Check the protocol, wiring, power, file and software version systematically.
9. Validate the Result After Programming
Perform a new identification read after writing and compare the result with the target file. Reinstall the ECU correctly and scan the vehicle for communication faults and internal ECU errors.
Depending on the vehicle, additional coding, immobilizer synchronization, adaptation, clutch learning or basic settings may be required. A successful memory write does not automatically complete every vehicle-side procedure.
Common Pre-Programming Mistakes
- Starting with the vehicle model instead of the exact ECU identification.
- Choosing a protocol based only on connector shape or processor name.
- Using a deeper programming mode without confirming that it is required.
- Skipping voltage and ground testing.
- Writing without an untouched original backup.
- Assuming a checksum-corrected file is automatically compatible.
- Disconnecting power during a read or write operation.
- Ignoring post-programming coding or adaptation requirements.
Frequently Asked Questions
Can I use this checklist for every ECU?
The checklist is a general preparation framework. The actual voltage, wiring, memory operation and connection method must always follow the exact KT200II protocol for the specific ECU.
Should I always use Bench or Boot mode for safer programming?
No. Use the least invasive supported method that provides the required operation. Some ECUs support OBD, while others require Bench or Boot access.
Is a vehicle listing enough to confirm support?
No. Confirm the ECU type, processor, operation and connection method. Different ECUs in the same vehicle family may have different support.
Where can I buy the official KT200II?
Purchase the official KT200II ECU Programmer through the ECUHELP global store at helpecu.com/product/kt200ii-ecu-programmer/.
Ready to Prepare Your Next ECU Job?
Before ordering or programming, send the vehicle model, ECU or TCU part number, hardware and software numbers, processor, required operation and connection method to ECUHELP support.
Official KT200II product page: KT200II ECU Programmer
Supported vehicle database: KT200II Support List
Official ECUHELP global store: Buy KT200II ECU Programmer
WhatsApp support: +86 18665287523